 www.scribd.com
 Introduction to DIY Aquaponics Aquaponics, a symbiotic system combining aquaculture (raising fish) and hydroponics (growing plants without soil), is a sustainable and efficient way to produce both food and fish. Building your own aquaponics system allows for fresh, organic produce and healthy fish while minimizing environmental impact. This guide provides a step-by-step process for creating a basic DIY aquaponics setup.
Materials and Tools Gather all necessary materials before beginning construction. This will save time and prevent frustration later. Here's a list of essentials:
- Fish Tank: A container to house your fish (e.g., a plastic tote, glass aquarium). Size depends on the number of fish you plan to raise. A 20-gallon tank is a good starting point.
- Grow Bed: A container to hold your plants and growing medium. A plastic tote works well here too. Ensure it's food-grade plastic.
- Water Pump: To circulate water from the fish tank to the grow bed. Choose a submersible pump with appropriate flow rate for your system size.
- Air Pump and Air Stone: To oxygenate the water for the fish.
- Plumbing: Tubing and fittings to connect the fish tank, pump, and grow bed.
- Growing Medium: Inert material to support plant roots (e.g., gravel, clay pebbles, lava rock).
- Fish: Select fish species suitable for aquaponics (e.g., tilapia, goldfish, koi).
- Plants: Choose plants that thrive in aquaponic systems (e.g., lettuce, herbs, leafy greens).
- pH Testing Kit: To monitor and adjust the water's pH level.
- Tools: Drill, saw (if modifying containers), measuring tape, level, and basic hand tools.
Step 1: Preparing the Fish Tank Select a suitable location for your aquaponics system. It should be a stable, level surface, protected from extreme temperatures and direct sunlight. Clean the fish tank thoroughly with water only (no soap or chemicals). Add dechlorinator to the water if using tap water. This removes chlorine and chloramine, which are harmful to fish.
Step 2: Setting Up the Grow Bed If necessary, modify the grow bed by drilling drainage holes at the bottom. Ensure the holes are small enough to prevent the growing medium from escaping. Place the grow bed above the fish tank, either directly on top or on a stand. The height difference allows water to flow back into the tank via gravity. Fill the grow bed with your chosen growing medium. Wash the medium thoroughly to remove any dust or debris.
Step 3: Plumbing and Water Circulation Connect the water pump to the fish tank and run tubing from the pump to the grow bed. Distribute the water evenly across the grow bed surface. Connect another tube from the grow bed drainage holes back to the fish tank. This creates a closed-loop system. Test the pump and plumbing to ensure water flows correctly and there are no leaks.
Step 4: Establishing the System Fill the fish tank with water, leaving some space at the top. Add the air pump and air stone to the fish tank to provide oxygen for the fish. Allow the system to cycle for a few weeks before adding fish. This allows beneficial bacteria to establish themselves, which are essential for converting fish waste into plant nutrients. Monitor the water parameters (pH, ammonia, nitrite, nitrate) during the cycling process.
Step 5: Introducing Fish and Plants Once the system is cycled and the water parameters are stable, introduce your fish gradually. Start with a small number of fish and monitor their health closely. Plant your seedlings or seeds in the grow bed. Ensure the roots are in contact with the growing medium and the nutrient-rich water.
Step 6: Maintenance and Monitoring Regularly monitor the water parameters, including pH, ammonia, nitrite, and nitrate levels. Adjust the pH as needed to maintain optimal conditions for both fish and plants. Add water to the system as needed to replace any lost through evaporation. Clean the fish tank and grow bed periodically to remove any accumulated debris. Provide adequate lighting for your plants.
Conclusion Building your own DIY aquaponics system is a rewarding experience. By following these steps, you can create a sustainable and productive system that provides fresh food and healthy fish. Remember to research and adapt the system to your specific needs and environment. With proper care and maintenance, your aquaponics system will thrive and provide you with years of enjoyment.
Aquaponics: From Wikipedia, The Free Encyclopedia
www.scribd.com Aquaponics
 farm.ws
 » Aquaponics
 isponica.is
  www.agrifarming.in
  www.dreamstime.com
  www.plantsonwalls.com
  ar.inspiredpencil.com ```html
  www.vrogue.co
  listingmore.com
  tidymom.net
  www.poma.me
 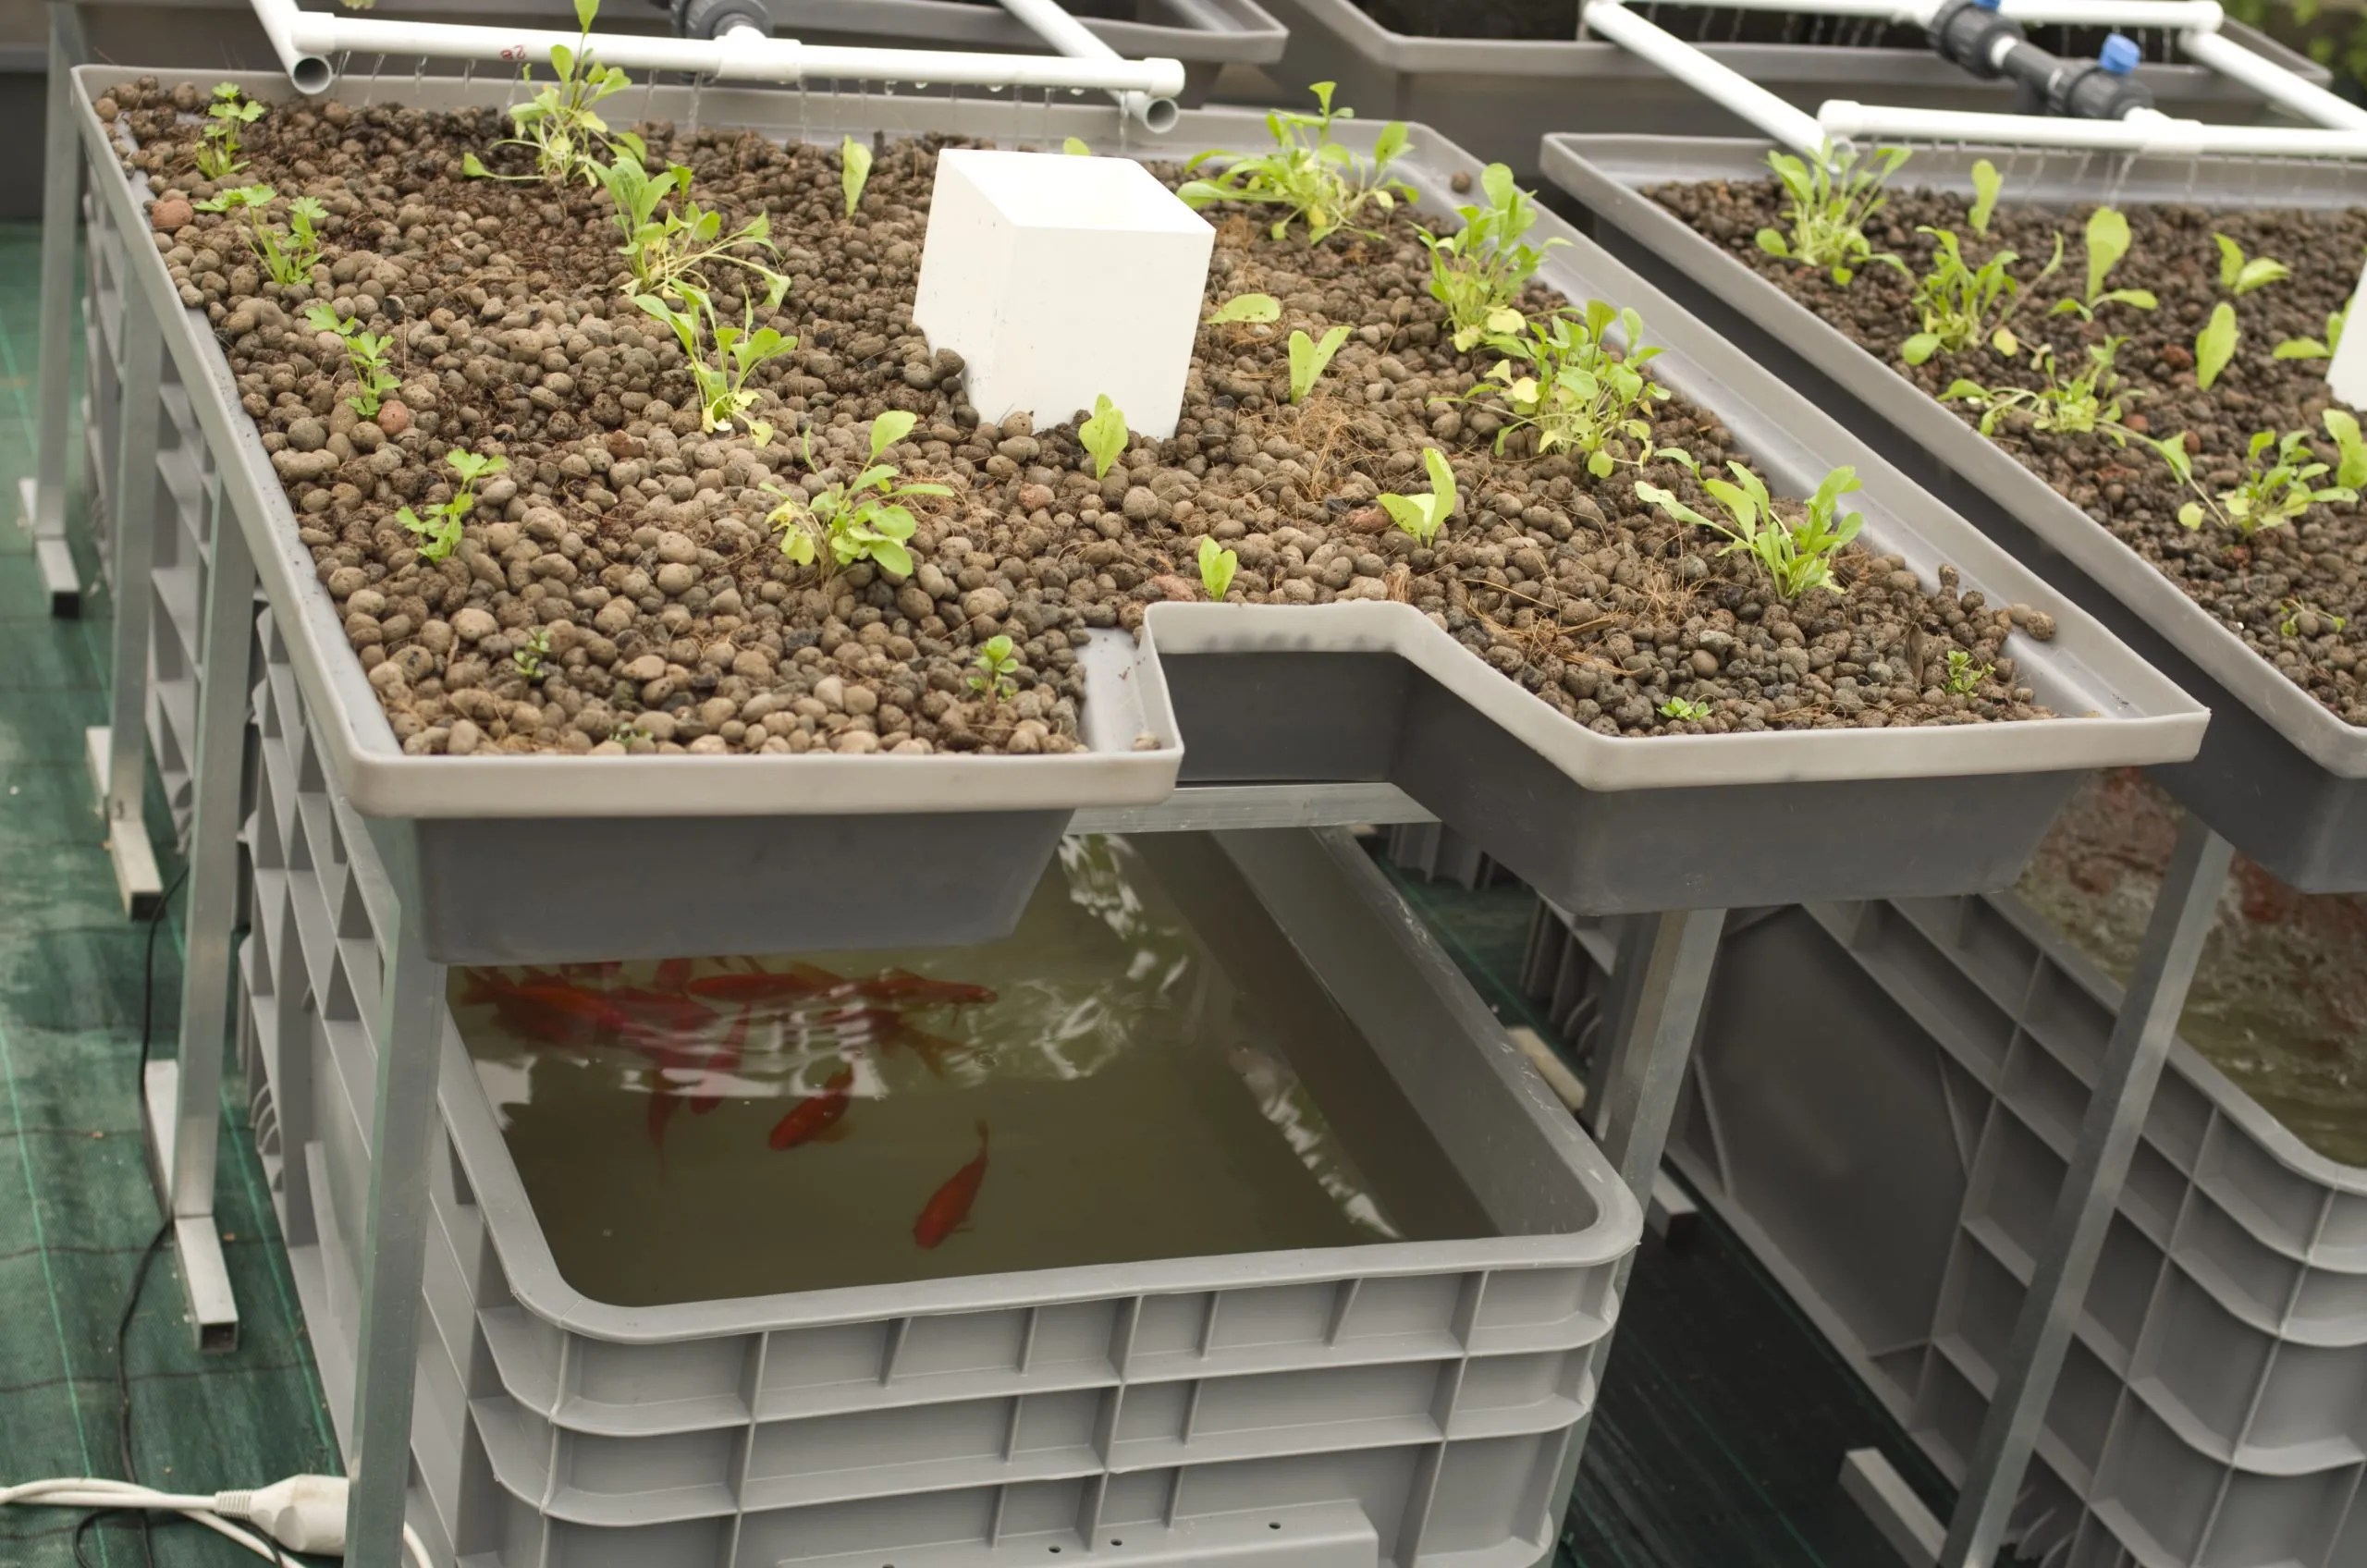 www.aquaponicsforbeginners.com
  agromoris.com
  fity.club
  popsugar.com
  www.epicurious.com
  www.bonappetit.com
  www.greenlife.co.ke
  storage.googleapis.com